How to Make 4 Common Furniture Repairs
Mar 15, 2024

How to Make 4 Common Furniture Repairs
Earlier this week, I explained why every man should know how to repair his own furniture, and offered some tips for mitigating the need for such mending. In this concluding installment, I’ll go into the how of furniture repair: the basic tools to have, the joints to know, and the instructions to get things fixed up right.
The Basic Toolkit
Fortunately, you don’t need tons of expensive or exotic tools to repair your furniture. In my studio, I have a wide variety of tools perfect for specific tasks, but to get started you don’t need much. Here’s a list of the basics:
1. Hide Glue
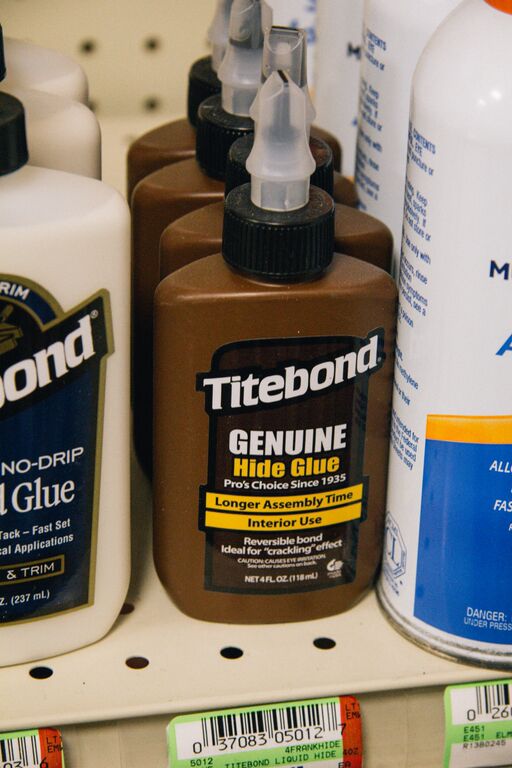
This is the single most important tool you’ll need. Adhesive choice can make or break the long-term success of a repair, so don’t try to one-up the artisans of the past. Ancient Egyptian tombs were discovered with furniture still standing thanks to the strength of hide glue. The reason historic furniture survives use for hundreds years is because it was glued with this adhesive.
Hide glue is exactly what it sounds like: an adhesive made from the skins of animals. Furniture grade hide glue comes from cattle hides. The hides are heated in a water bath to extract the gelatinous glue. Once drained off and dried, the glue is ground into granules for sale. Some manufacturers then add ingredients to it to alter the working properties to make it easy to use for repairing wooden objects.
The real beauty of hide glue is that it will dissolve again when hot water is applied directly to it. This makes repairability not only easy but successful. Modern synthetic glues seal the surface of the wood, guaranteeing that no glue will ever be able to be used on top of it again. Every glue fails eventually. Believe me. I see failed joints all the time full of Gorilla Glue and these repairs take the most time to do. Put simply, once a fancy-pants modern synthetic glue is used, no future glue will ever make the joint as strong again. And when you do try to repair it in the future, good luck trying to safely disassemble it.
Another benefit of hide glue is its strength. It’s the epitome of the Goldilocks principle: not too weak, not too strong, but juuuust right. Don’t buy the marketing about the strongest glue on the planet. You don’t want that. The glue line in a joint is supposed to be the sacrificial element in the system. Think about it: when the chair falls backwards on the floor, what do you want to fail, the glue line or the wooden components? Adding more glue into a joint is way easier than trying to repair a severed tenon.
The easiest and most readily available form is Franklin’s Liquid Hide Glue. This little brown bottle can be found at many hardware stores. Another alternative is Patrick Edward’s Old Brown Glue. Watch the shelf life and you’ll be all set.
2. Glue Brush
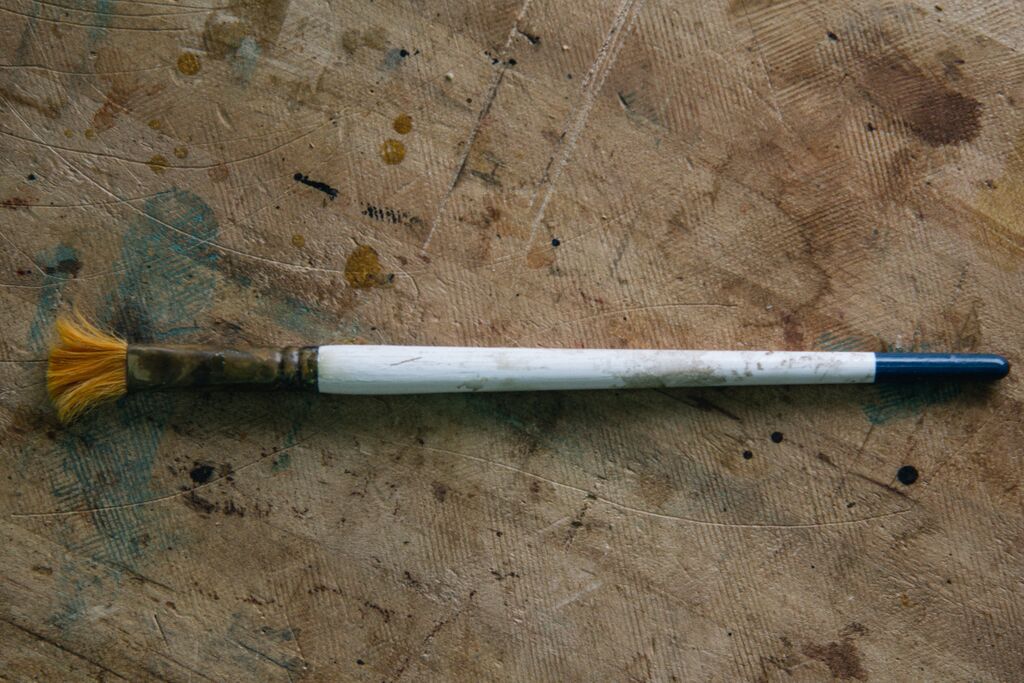
Because hide glue is water-based, I use any old waterbase brush from the craft store for spreading the glue. For gluing joints and veneer, a 3/8” wide brush will do just fine.
3. Clamps
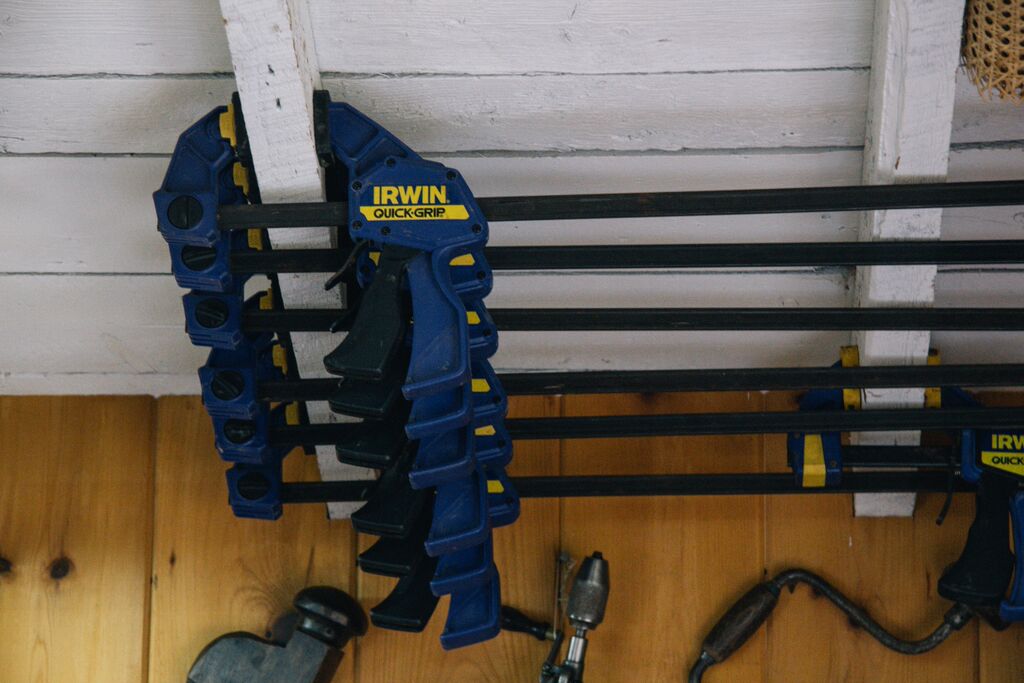
Don’t skimp here. You don’t want your father’s rusty, greasy pipe clamps from out in his garage. Besides being too heavy for delicate items, you want clean clamps dedicated to fine work like this. I use Irwin’s Quick Grips almost exclusively because they give the right amount of clamping pressure, are lightweight, and have built-in clamping pads so you won’t mar your furniture when tightening. Get yourself 4-6 36” clamps. The 12” kind are handy to have around too.
4. 24oz Dead Blow Mallet
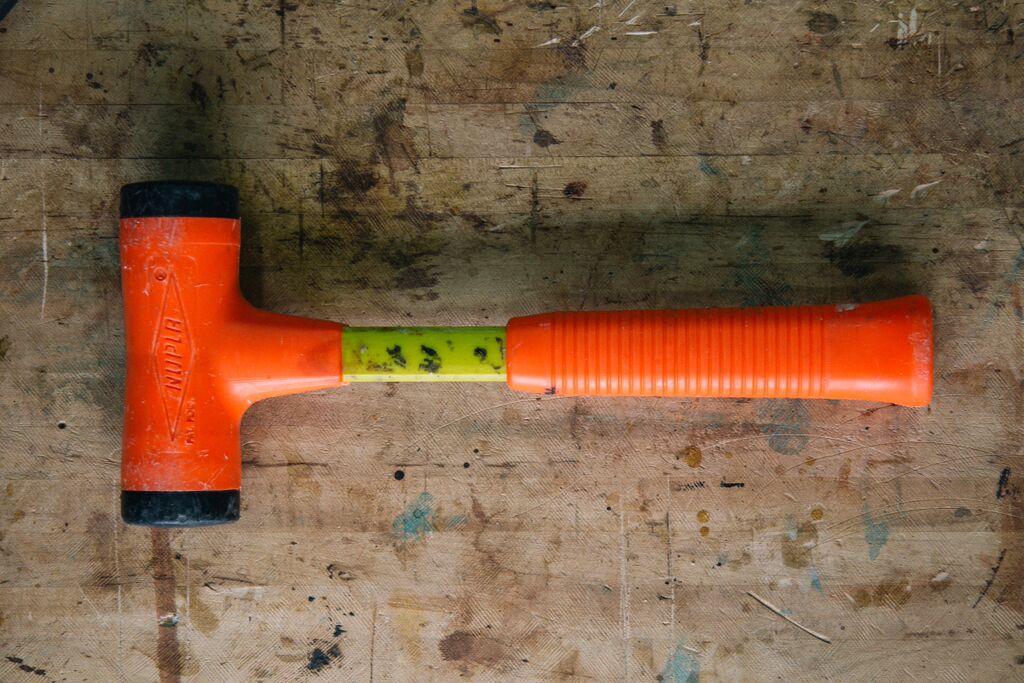
There’s nothing sexy about this mallet but boy is it handy. They’ve got sand or lead shot in the head that helps give an appropriately directed thump where needed.
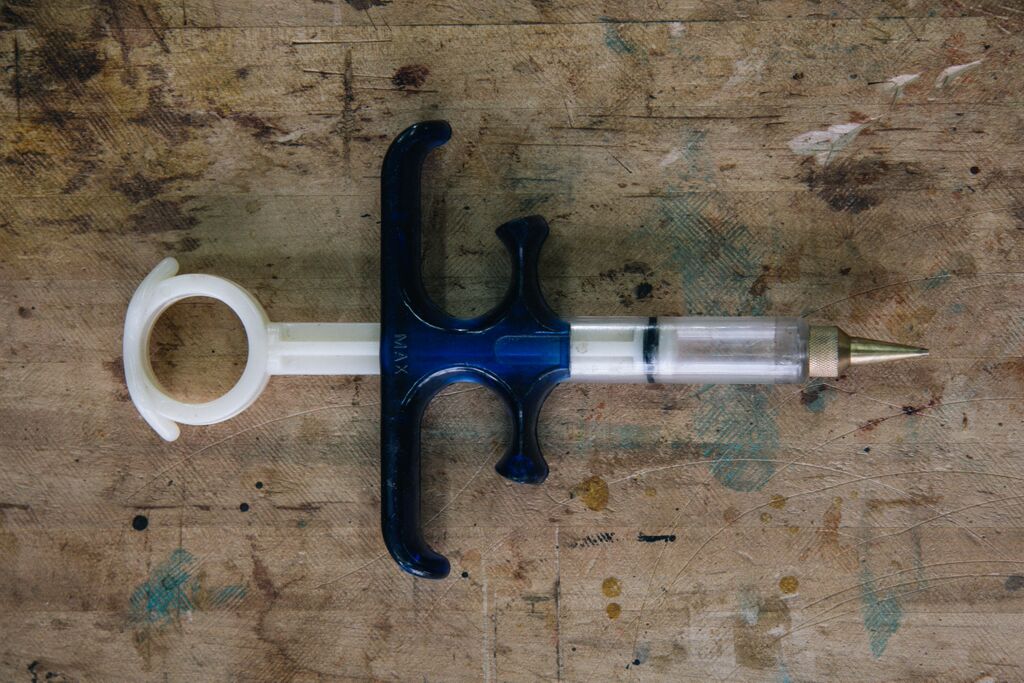
5. Medical Syringe or West System Epoxy Syringe
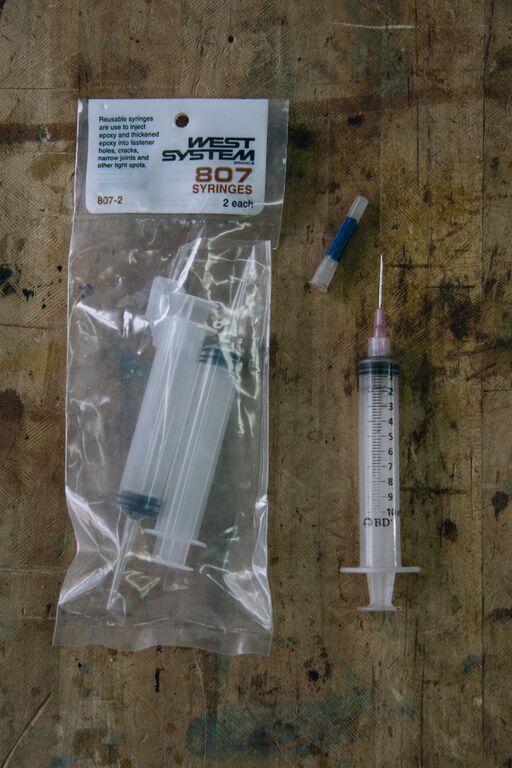
In order to get hot water into a joint, you will need a way to apply small amounts directly to the joint line to let it seep in. Small syringes are perfect for this. I heat water in the microwave, fill the syringe, and squirt it exactly where needed.
6. Fine Rasp or 80-Grit Sandpaper
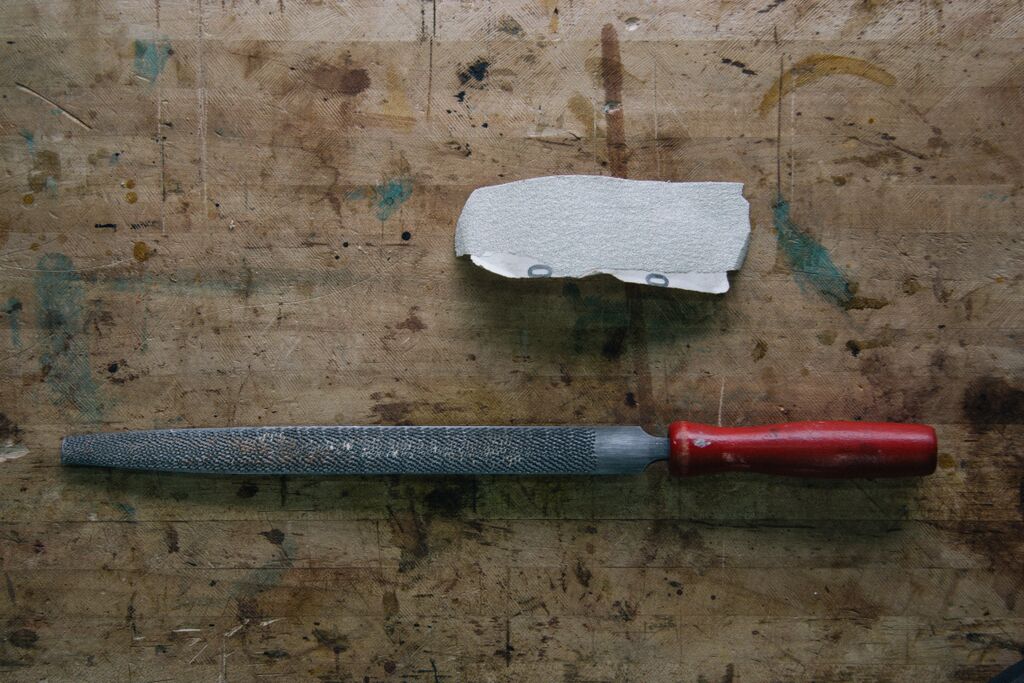
You’ll want a way to clean up glue residue on tenons and inside mortises before re-gluing. You don’t want to remove any wood from the joints, just hardened clumps of old glue that may impede reassembly. If it’s hide glue applied on hide glue, this clean-up is not for adhesion purposes, just ease of assembly.
7. High Pressure Injector
While not absolutely necessary, it can save you a lot of effort and time in the right circumstance. By drilling a 1/16” hole into the joint from the underside, you can inject water-diluted hide glue into a loose joint. By plunging the tenon in and out a few times until you see glue squeezing out around the mortise, you introduce fresh glue into the joint without complete disassembly. It’s an extra $30 well spent if you save yourself a few hours wrestling a big project.
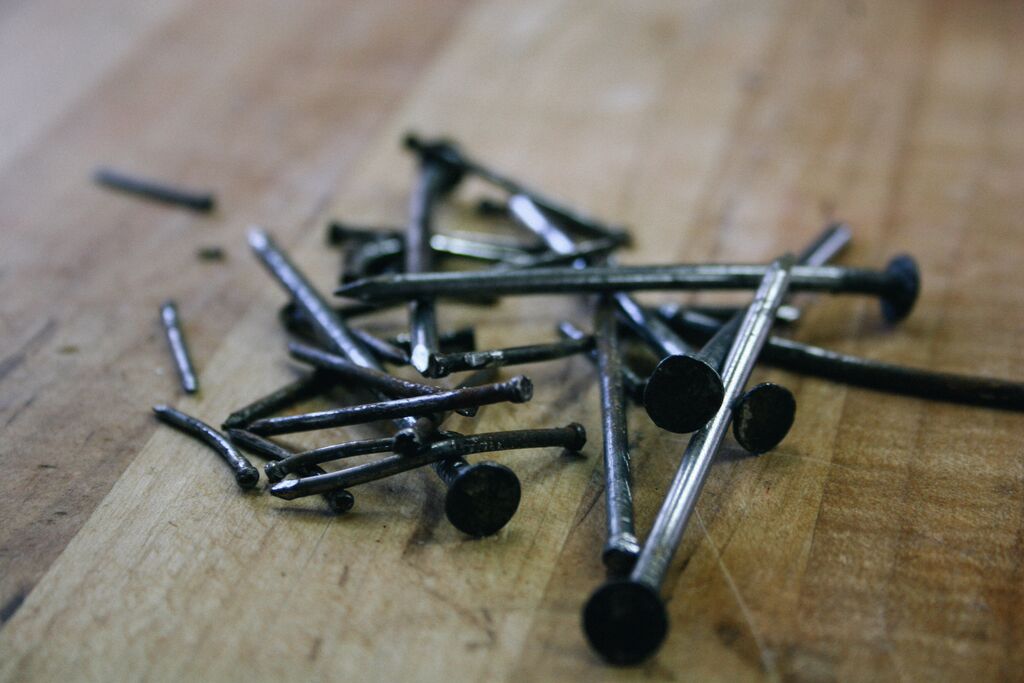
Before we move on, here’s another no-no to add to Gorilla Glue and giant clamps on small delicate parts: nails. Don’t use nails to “tighten” a loose joint — they don’t stabilize it. It only makes disassembly a mess. Removing nails always mars the surface and if you don’t see them before forcing a joint apart, you end up with major damage.
Know Your Joints
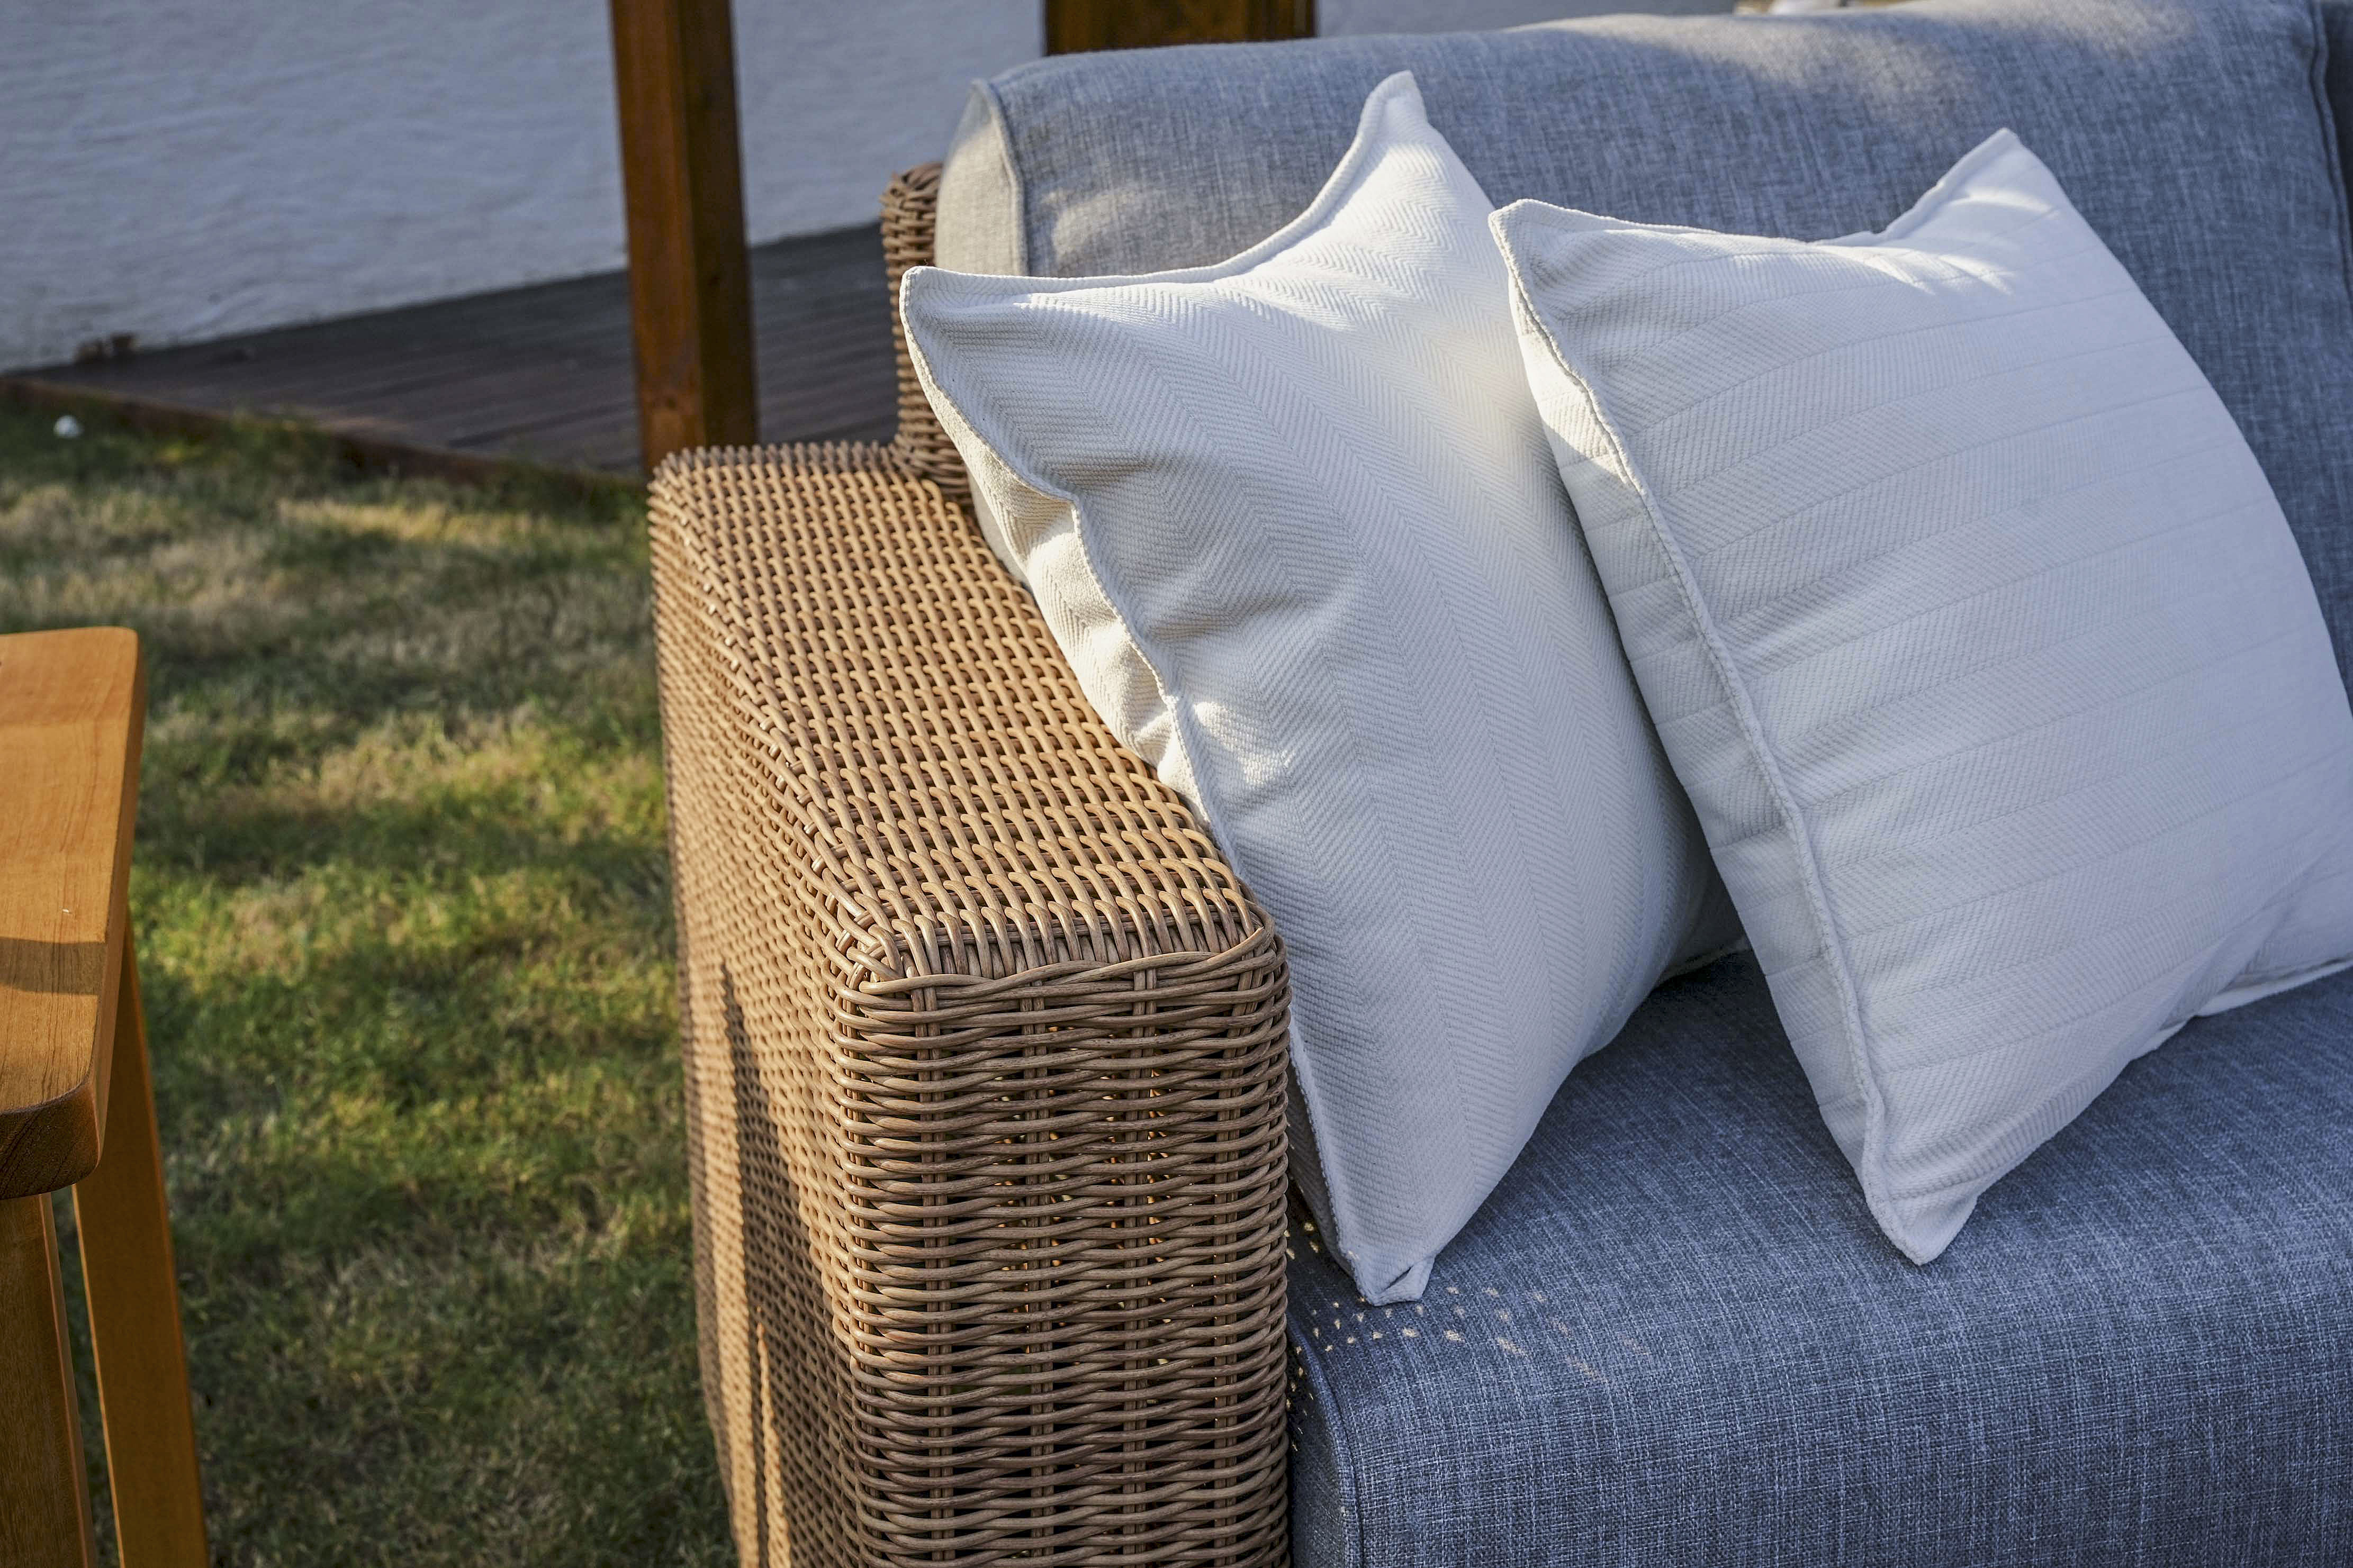
Last time I offered an illustrated overview of the major parts of chairs. Such terms are good to know in order to save you from having to struggle over what to call the “spindle-thingy” that’s broken.
How are these things put together, though? Only when you’ve got that under your belt can you come up with a good way to repair it. So let’s take a look at some of the most common furniture joinery.
The Mortise and Tenon Joint
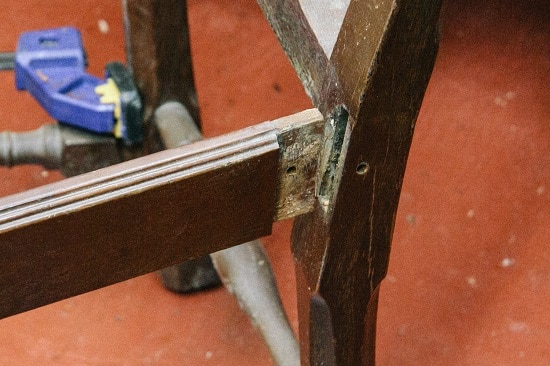
This joint is the most fundamental joint you will find in antique furniture. It consists of a hole (mortise) and a correspondingly shaped tenon which fits snugly into the hole. The joint can be rectangular or circular. This joint is used on just about every part of a chair, the bases of tables, and chests with drawers.
The Dovetail Joint
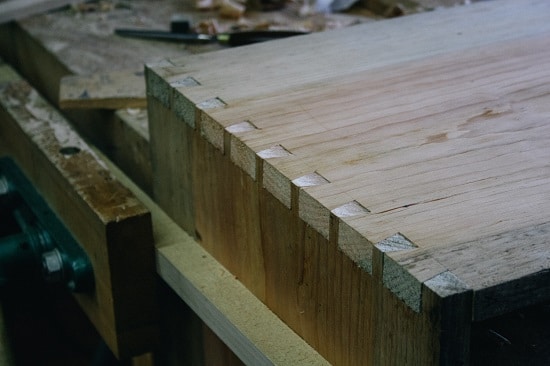
The dovetail is the strongest way to join two boards at 90 degrees to each other. It consists of a wedge-like shape (like half a bow tie, or eponymously a dove’s tail) cut into a board, which is then joined with a piece that’s been cut to fit. The genius of this joint is the mechanical lock that secures the boards to each other even before you glue it. These are the joints that people ogle at when they pull open an antique drawer. I admit they look attractive but I assure you, they’re more than a pretty face. It’s a very strong joint and that’s why it’s used.
The Dowel Joint
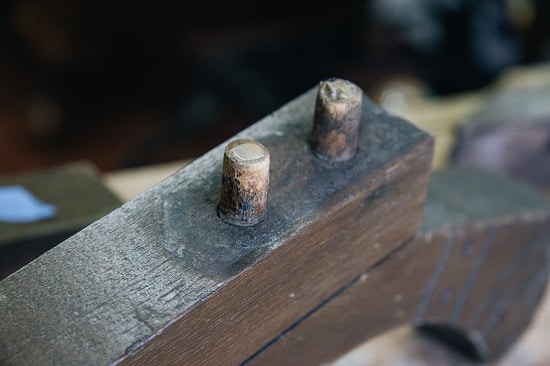
The Industrial Revolution sought to mechanize construction in order to manufacture furniture less expensively. One of the solutions to economize construction was to replace the traditional mortise and tenon joint with two or three dowels. This joint is not as strong as a full tenon and can make repair slightly more challenging.
There are many more joints for special situations but for the home handyman these three are going to be the bulk of what you find in your task at hand.
Outmaker Instagram Network